Article

TimeTap Tool Tips: Scheduling for Multiple Locations
Starr CampbellScaling your company is no small feat. Managing several locations can become complex when you factor in appointment booking, staff appointment scheduling, and communicating with clients. To keep up with the demands of growth, it’s best to automate these processes with capable software.
When you’re operating out of multiple locations there are a lot of moving parts to remember. Do all of your locations offer the same services? Are certain members of your staff only available virtually? Instead of relying on multiple tools or clogging your front desk’s workload, TimeTap allows you to oversee all locations and their appointments from your dashboard.
Check your settings
To get started, select Locations under the Settings dropdown menu on your account dashboard. The Location Panel Settings is where you can change what your clients will see when booking an appointment. Companies that offer certification courses or teach multiple groups may want to change the Location title to Building or Office to reflect the business’ environment. You can even select the option to display a map for your locations.
Add a new location
Once you’re satisfied with your settings, it’s time to add locations. Click on the Add New Location button and fill in the information fields. You also have the ability tochoose the type of location you need. For example, you might offer appointments virtually, in office and at a client’s location.
You’ll have the option to select the physical or variable location buttons. Variable locations are when clients set the location of their appointment at the time of booking. This option would be best for organizations who teach seminars or offer location-based services such as service calls.
Continue to the next screen and add more information about your new location. For example, if you have a North Carolina based business but are expanding into South Carolina, you’ll want to make sure clients can immediately recognize which state or city they're booking an appointment in.
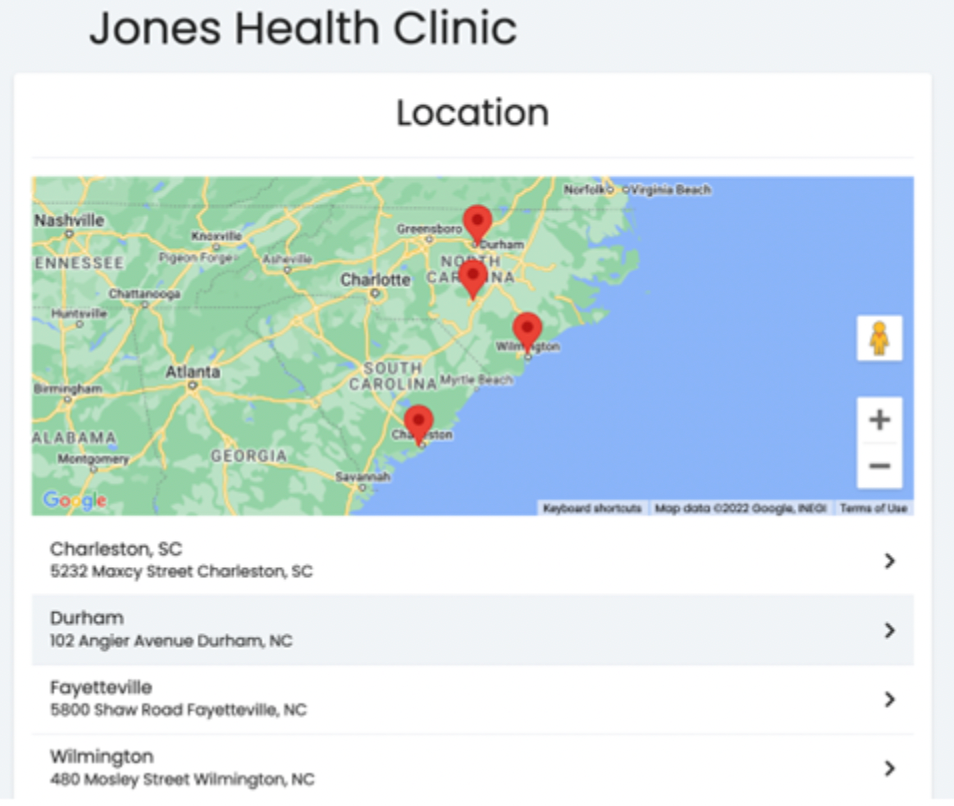
Include the phone number to your new location and an email address for easy communication with clients. If you choose to do so, inserting the location’s address will add a pin for Google Maps on your web scheduler. Clients can simply click on the pin and be directed to your office without any frustration.
The Details page allows you to further customize your location with the option to add a profile picture and select the staff who will be available for appointments. Make sure to uncheck the staff members who will not be working at your new location, so they don’t accidentally open their availability. This way, you can assign specific staff to specific locations, if you prefer.
Create location groups
The final option in the Locations menu groups together locations for enterprise level businesses with locations throughout several cities or states. For example, if your business has twenty locations in five cities, your online scheduler’s location list will be exhaustive.
Creating location groups creates a simple way to create appointment scheduling pages for each city. So, you might have a booking page that only displays the locations in Dallas and a separate page for your locations in Atlanta. This makes it simple to group some locations for appointment scheduling on a single web page while placing others on a separate appointment scheduling site. TimeTap offers a feature that can tier accounts and provide various admin oversight with our Enterprise plans. This provides the option to run multiple accounts for departments or locations as tiers, while linking them all together for reporting and admin control purposes.
Schedule your staff
Once you set up your locations, you’ll want to be sure to assign various staff to one or more locations. You can find the Staff settings page directly under locations in the settings dropdown menu. Go to the staff member whose schedule you’re modifying and click on View under ‘Actions’. When the main staff page comes up, set their location preferences in Staff Availability.
Once you’ve set up your locations and assigned your respective staff to each location, you’re ready to start booking appointments. Our software is the best appointment scheduling solution for managing complex appointment scheduling across multiple locations. With TimeTap, you’re ready to scale like Alexander Tutoring did by using TimeTap to book appointments in the Bay area of California.
Ready to automate your booking process? Find out how TimeTap can transform your workday and book a demo.


