Article

How to Group Your Classes by Subject for Easier Scheduling
TimeTap TeamFor those students who wait up until the last minute to sign up for classes...you know that if you’ve taken out a loan for school and your loan provides you with a grace period so that if you don’t sign up for classes on time and have to skip a semester, your grace period is going down.
Academic advisors and professors, don't allow your students to drown in debt because they didn’t complete their class schedule for the upcoming semester.
Happily, when speaking with your advisees, you can let them know how easy it is to sign up for classes online through a class scheduler that shows courses organized by subject.
For instance, when a student visits your institution's mini website, he or she will be able to click on a subject (ex. English) before choosing the appropriate class (ex. English 102). And, be sure to set up screening questions to direct students to the proper course if you have prerequisites (we have a great post on setting up screening questions here).
How to set up a class group
Before setting up a class group, make sure you've already created classes that can be added to your new grouping.
For this brief tutorial, we'll be creating class groups for a university.


Sample university website
1. Go to “Settings" > "Services & Classes" > and click the "Add New Reason Group" button

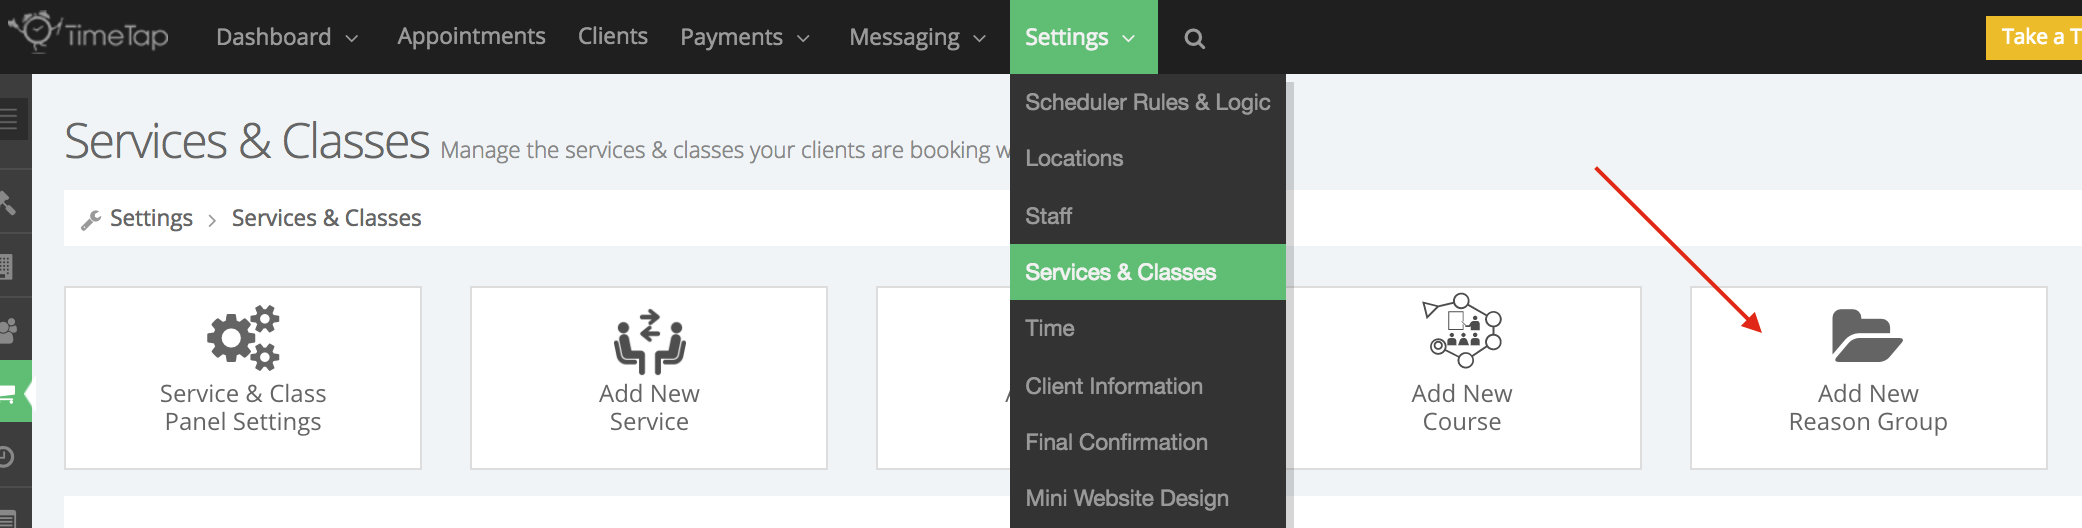
How to set up a class group
2. Fill in the appropriate information for your new class group, and be sure to add the corresponding classes to the group. Click "Save" once you're done.

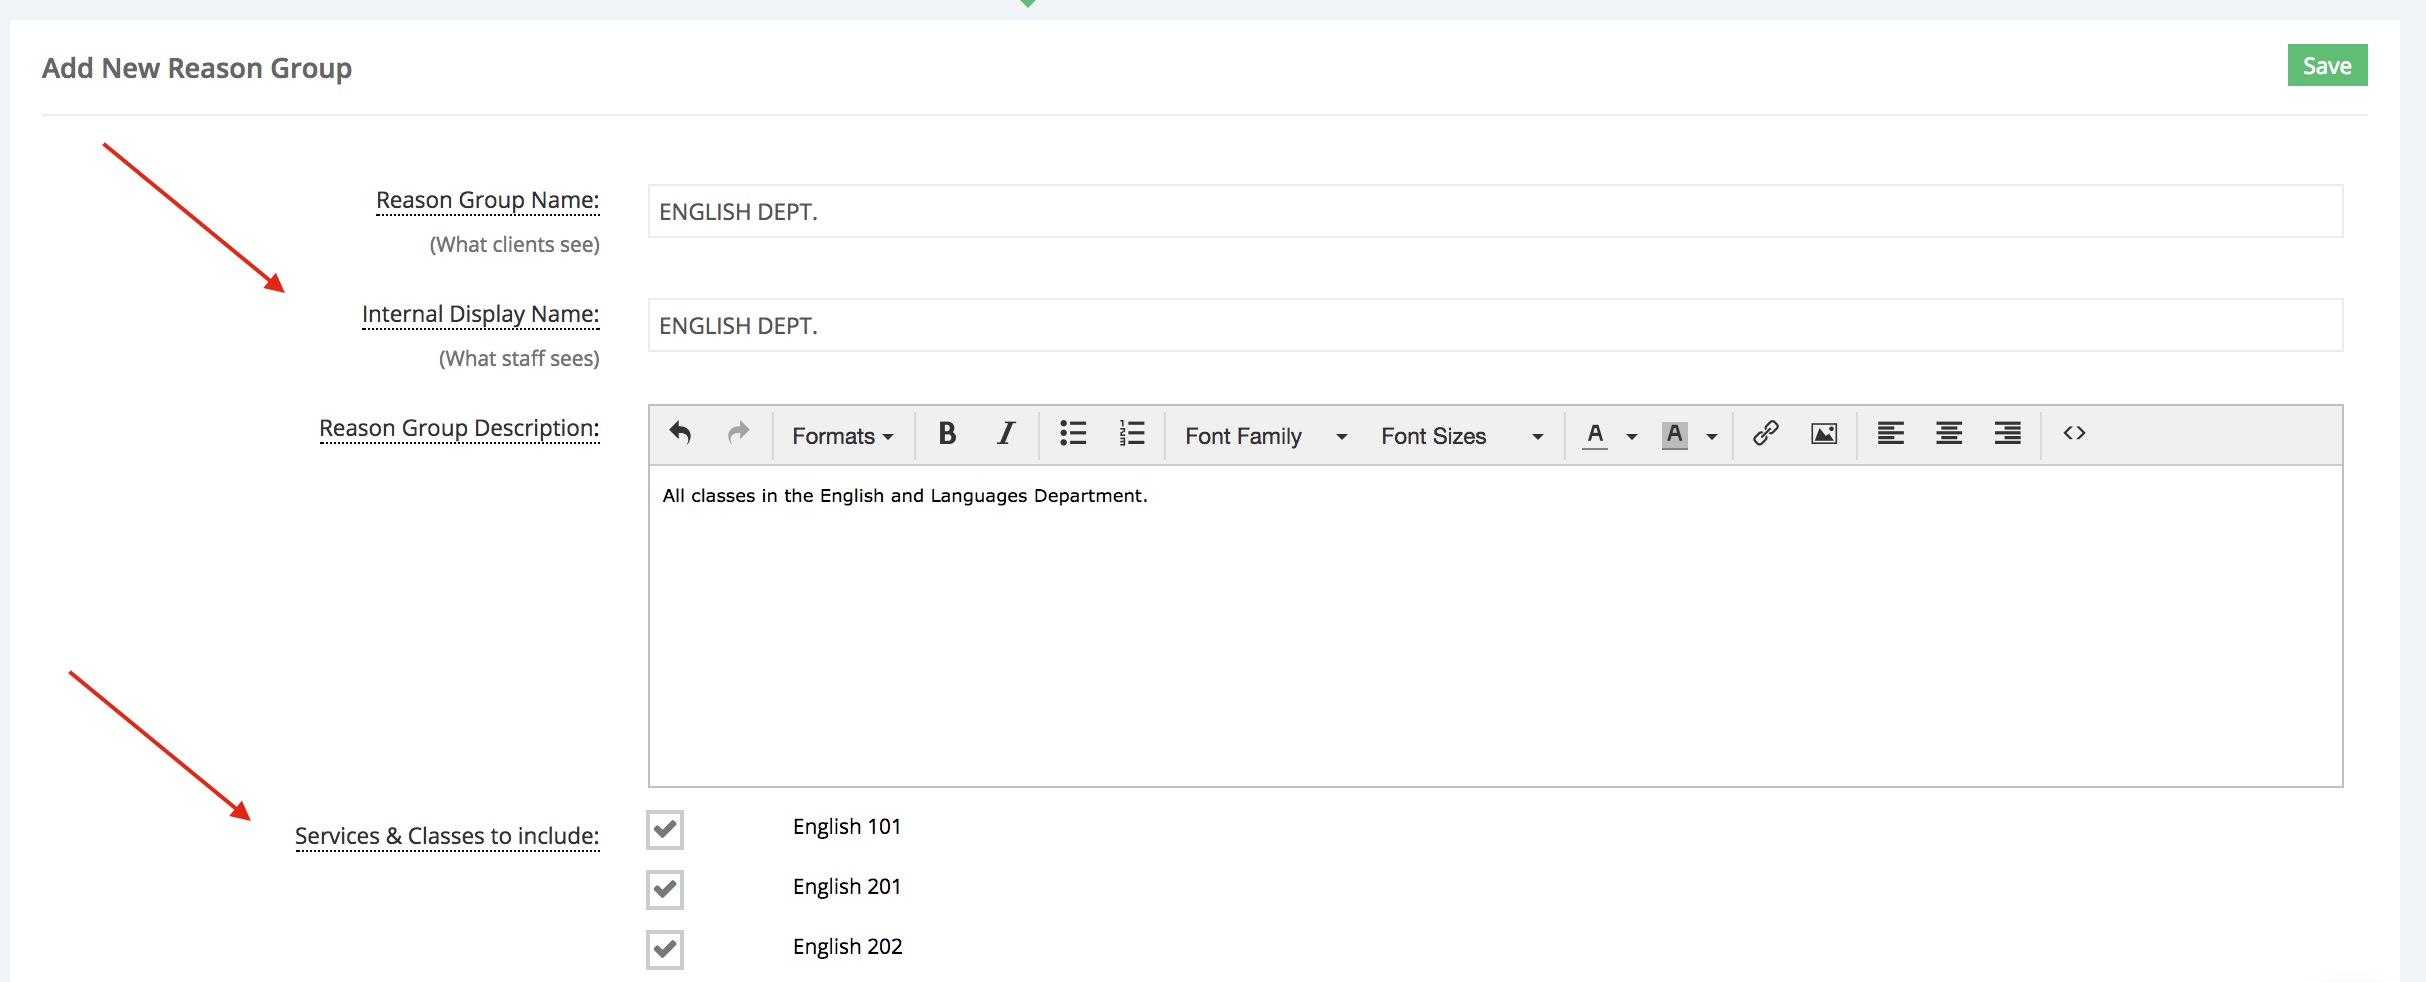
Filling in the appropriate information for the group
3. You'll now be able to see this grouping in Back Office.

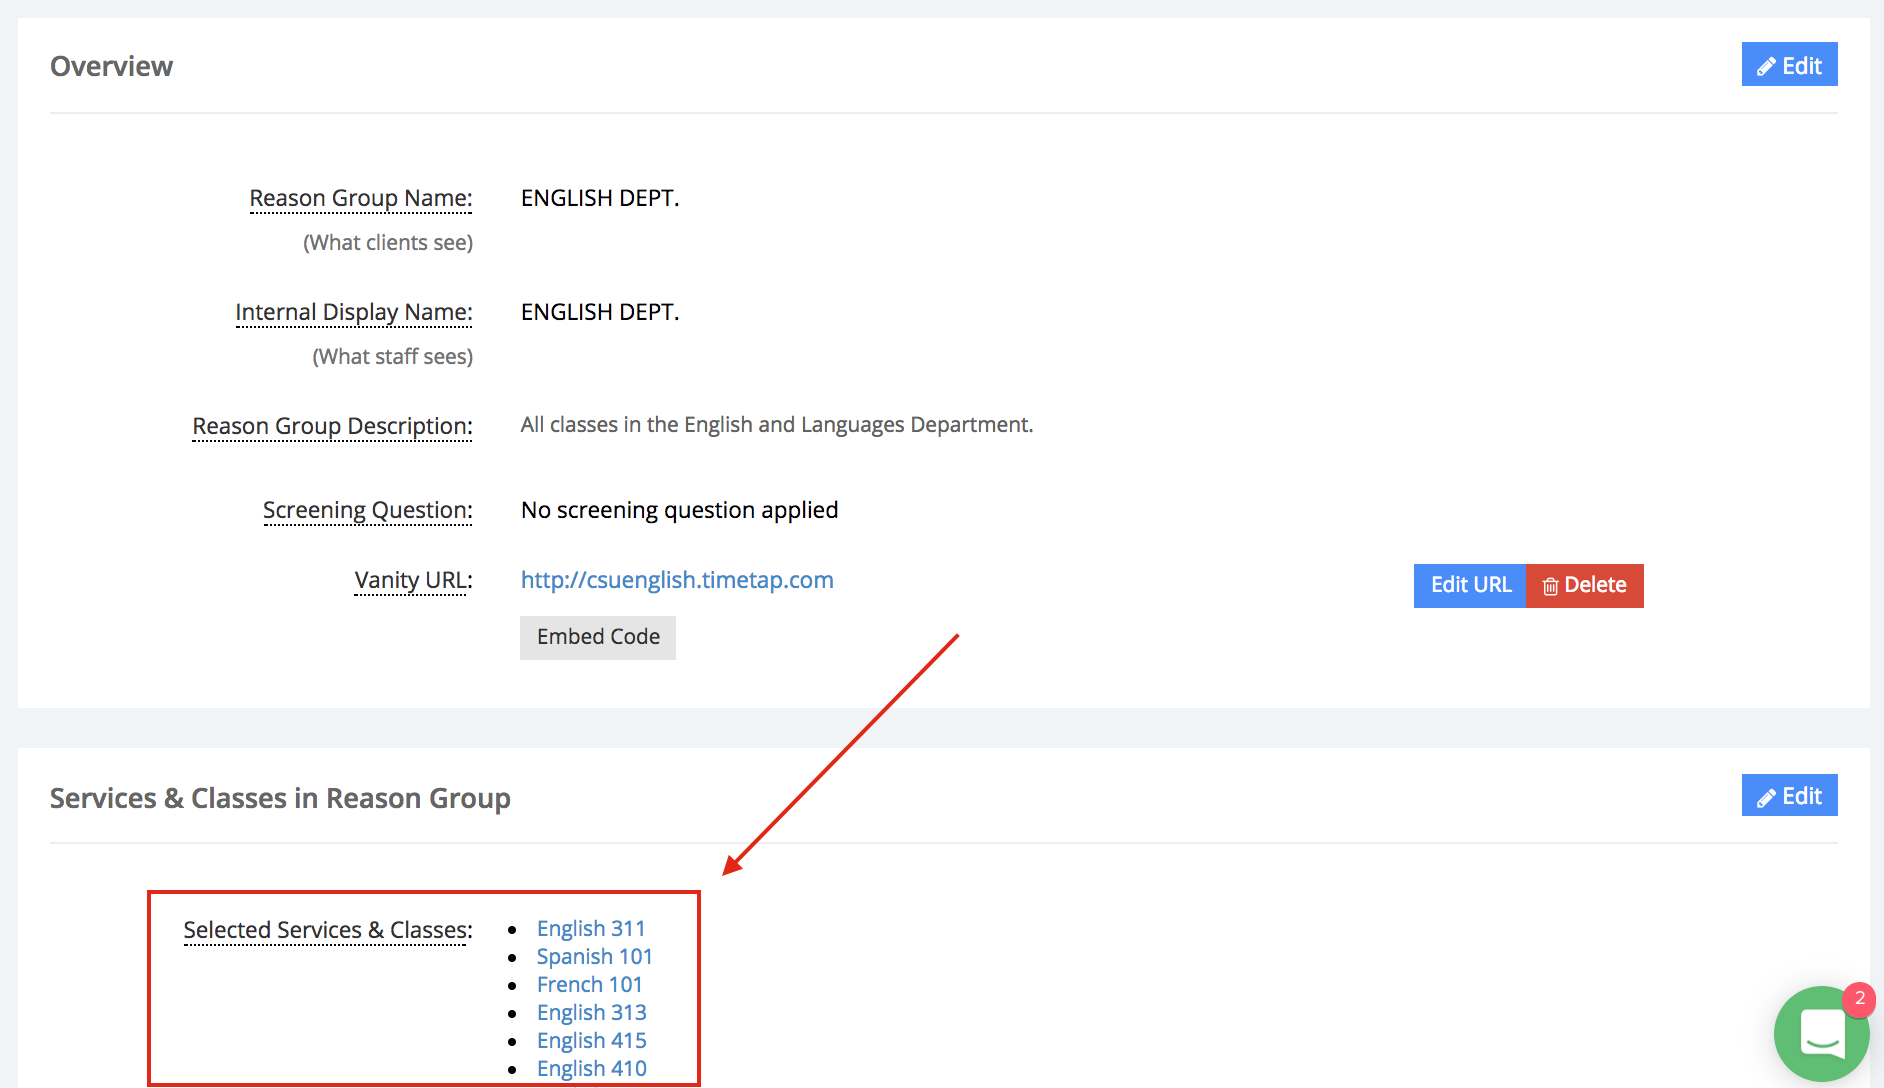
Viewing your new class group
4. You can repeat those steps in creating class groups for other departments.
*Tip - Be sure to preview and test the scheduler from the student's perspective.

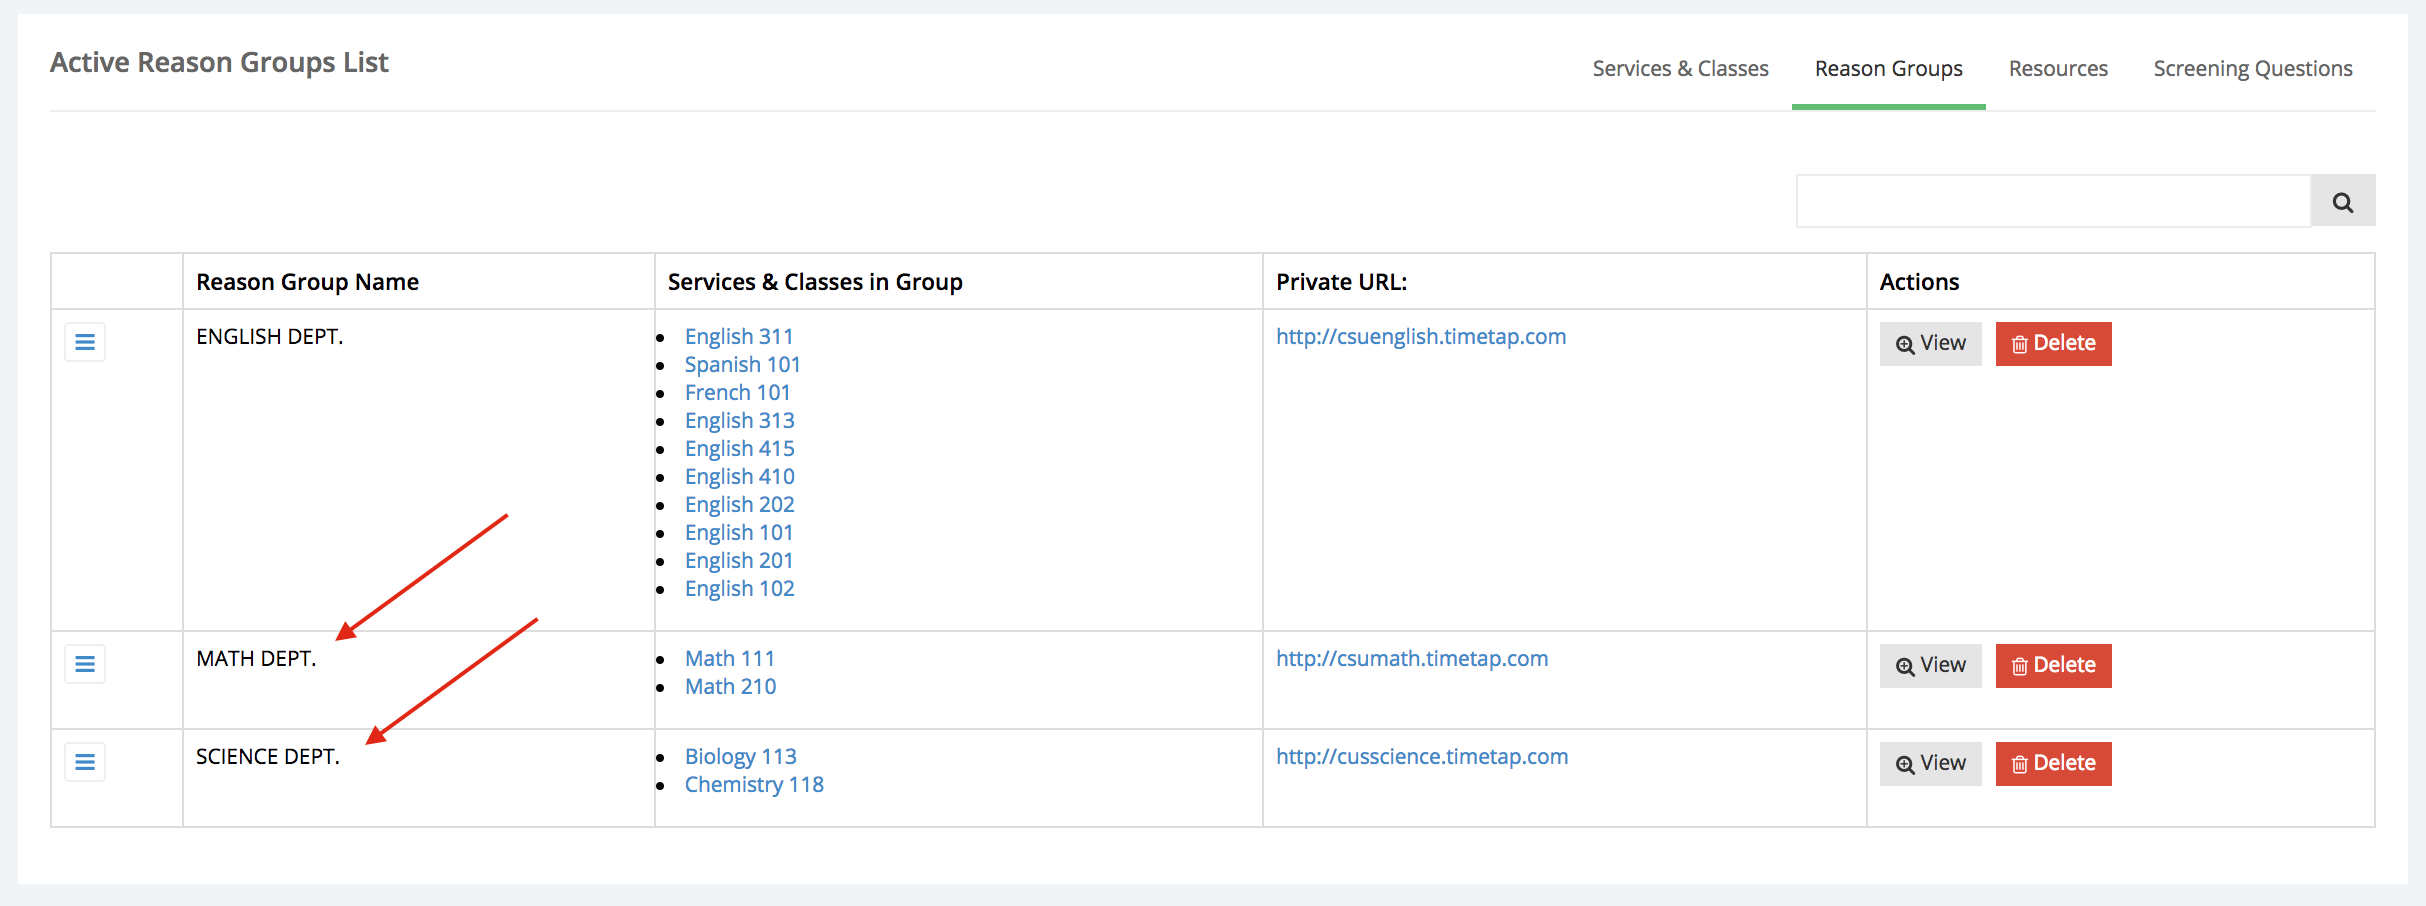
Repeat previous steps for other departments
And once you're done, you can easily add a link to your class scheduler on the institution's website.

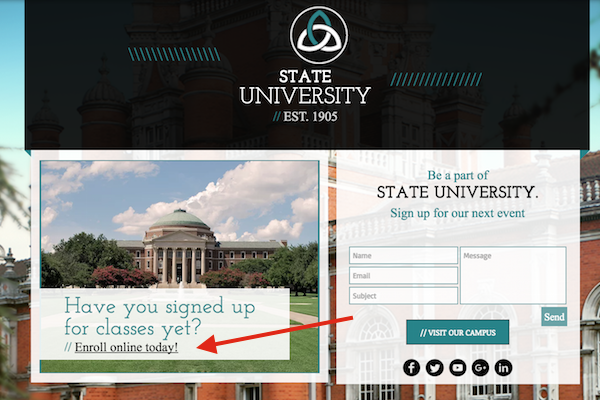
Link to your scheduler from the university's website
Help your students reach their goals
Everyone needs a boost sometimes and guidance with managing priorities. By grouping your classes according to subject or any other way that enhances your students' scheduling experience, you can better guide them through the process and help them get to the next level.
Let us know if you found this back to school tip helpful!